Dodge Dakota (ND). Manual — part 1216
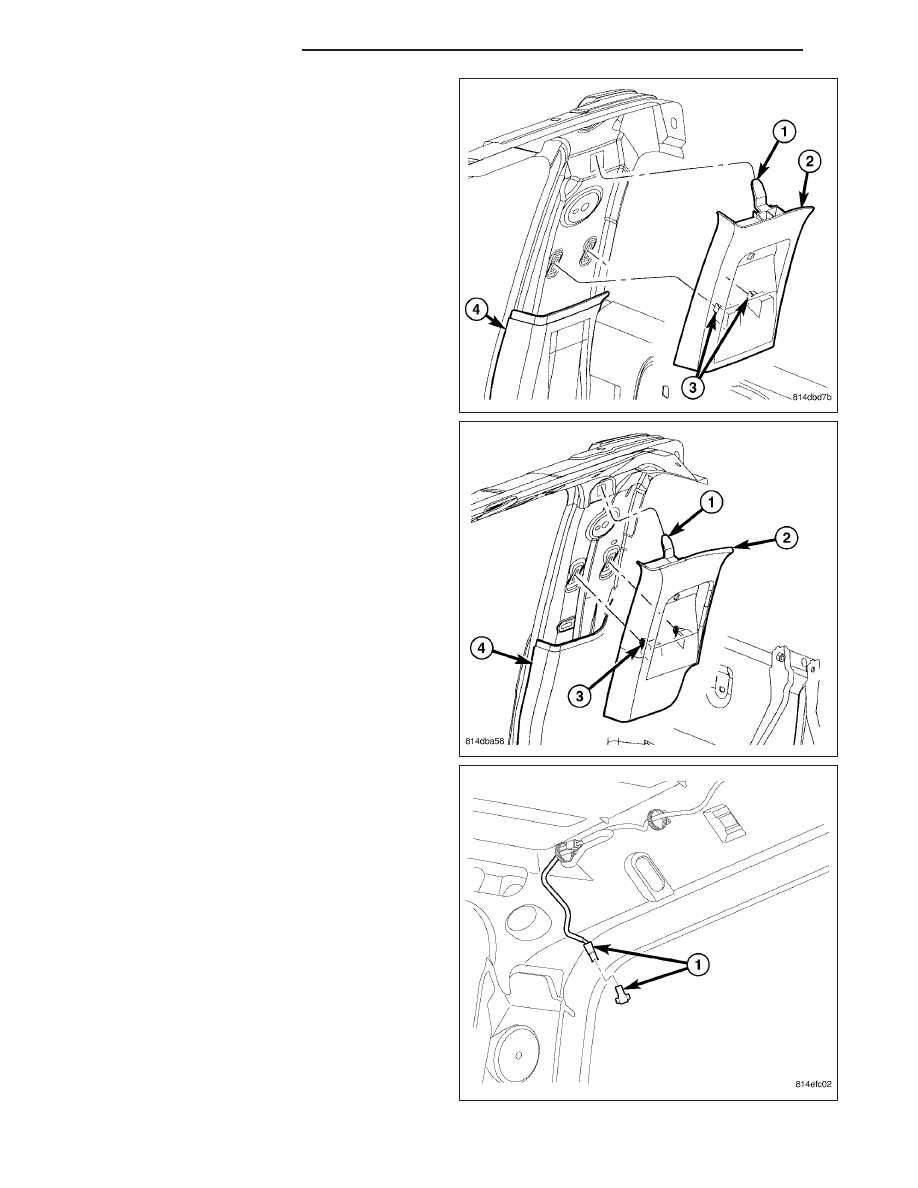
3. On club cab models remove the upper c-pillar trim
(2). (Refer to 23 - BODY/INTERIOR/PANEL-C PIL-
LAR UPPER TRIM - REMOVAL)
4. On quad cab models remove the upper c-pillar trim
(2). (Refer to 23 - BODY/INTERIOR/PANEL-C PIL-
LAR UPPER TRIM - REMOVAL)
5. Disconnect the rear window defogger electrical
connector (1), if equipped.
23 - 276
STATIONARY GLASS
ND
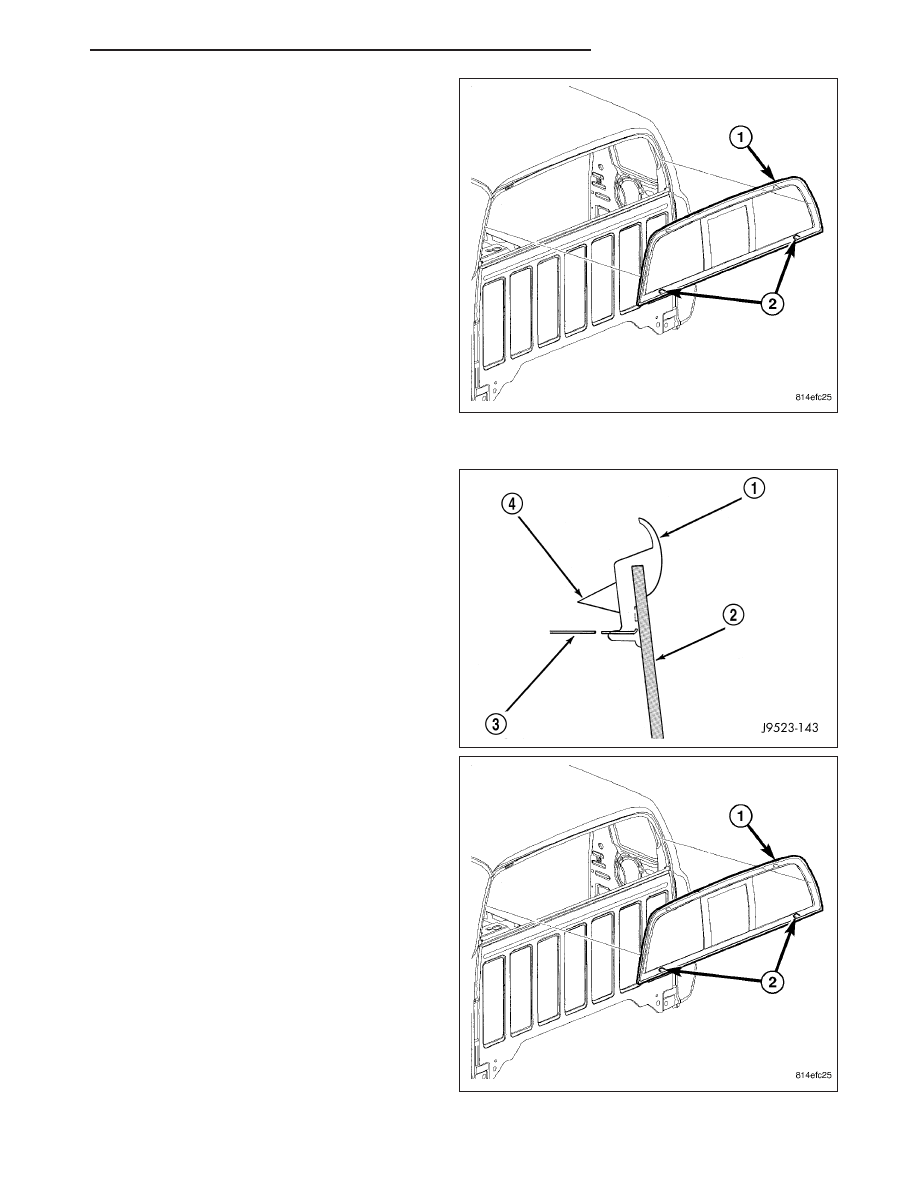
6. Bend backlite retaining tabs (2) inward against
glass.
7. Using a suitable pneumatic knife from inside the
vehicle, cut urethane holding backlite frame to
opening fence.
8. Separate glass (1) from vehicle.
INSTALLATION
1. Clean urethane adhesive from around backlite
opening fence.
2. If necessary, apply black-out primer to outer edge
of replacement backlite frame (1).
3. If black-out primer was pre-applied on backlite,
clean bonding surface with Isopropyl alcohol and
clean lint free cloth. Allow 3 minutes for drying
time.
4. Apply black-out primer to backlite opening fence.
5. Apply a 13 mm (0.5 in.) bead of urethane (4)
around the perimeter of the window frame bonding
surface (1).
6. Set glass (1) on lower fence and move glass for-
ward into opening.
7. Firmly push glass (1) against rear window glass
opening fence.
8. Bend tabs (2) around edges of backlite opening
fence to retain glass.
9. Clean excess urethane from exterior with MOPAR
T
,
Super Clean or equivalent.
10. Allow urethane to cure at least 24 hours (full cure
is 72 hours).
11. Water test to verify repair before returning vehicle
to service.
ND
STATIONARY GLASS
23 - 277
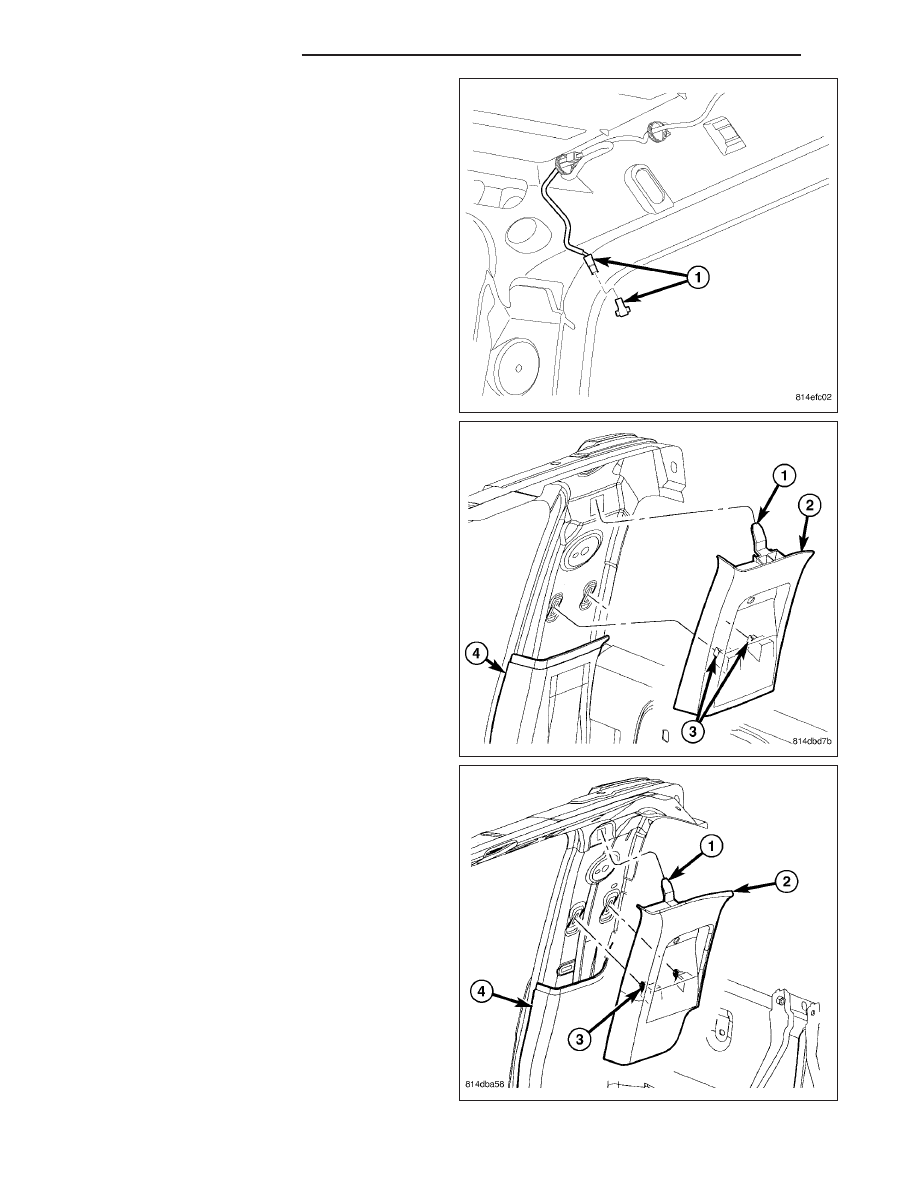
12. Connect the rear window defogger electrical con-
nector, if equipped.
13. On club cab models, install the upper c-pillar trim
(2) (Refer to 23 - BODY/INTERIOR/PANEL-C PIL-
LAR LOWER TRIM - INSTALLATION)
14. On quad cab models, install the upper c-pillar trim
(2). (Refer to 23 - BODY/INTERIOR/PANEL-C
PILLAR LOWER TRIM - INSTALLATION)
23 - 278
STATIONARY GLASS
ND
15. Install the headliner (6) (Refer to 23 - BODY/IN-
TERIOR/HEADLINER - INSTALLATION).
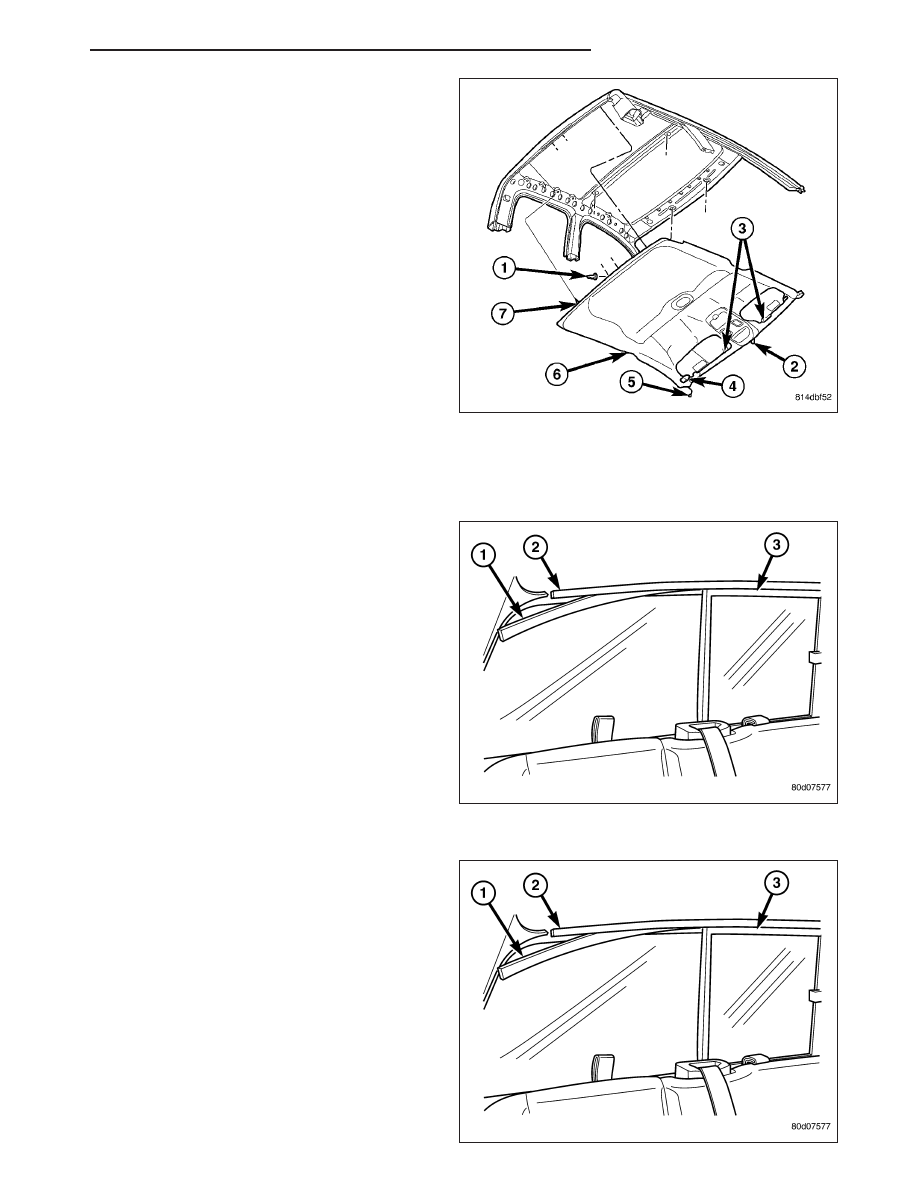
GLASS-BACKLITE SLIDING
REMOVAL
1. Slide the upper run channel (1) out of the window
frame (2).
2. Slide the vent glass (3) upward to remove from the
lower window frame (2).
3. Lower the glass (3) out of the upper window frame
(2) and remove.
INSTALLATION
1. Slide the vent glass (3) upper edge into window
frame (2) and insert the lower edge into the lower
molding.
2. Position the upper run channel (1) into the window
frame (2) and slide it into place.
3. Verify vent glass (3) operation.
ND
STATIONARY GLASS
23 - 279
Нет комментариевНе стесняйтесь поделиться с нами вашим ценным мнением.
Текст